Sunday, June 30, 2013
Bloglovin' Giveaway!
I've got a little giveaway surprise for a lucky "new" Bloglovin' follower! (some 6x6 papers, a few digi stamp images I've drawn, a copic marker, and some other bits and bobs I'll come up with later!)
All you have to do:
Sign up for Bloglovin'
Follow my blog with Bloglovin
And then come back and comment on this post! This will be a fast one, so this opportunity will end at Midnight PST!
This is open to everyone, everywhere!
Later queenies!!!
Friday, June 28, 2013
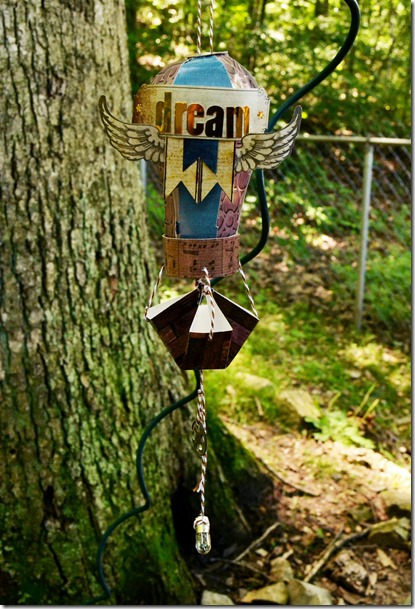
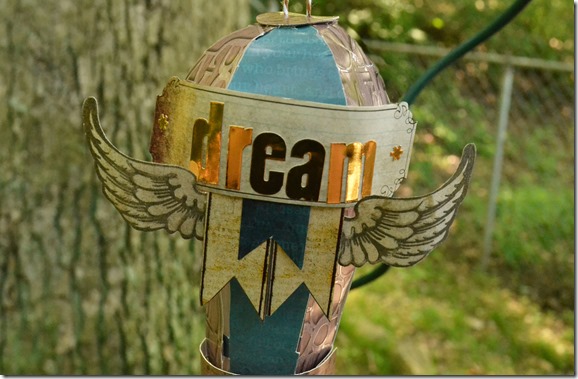
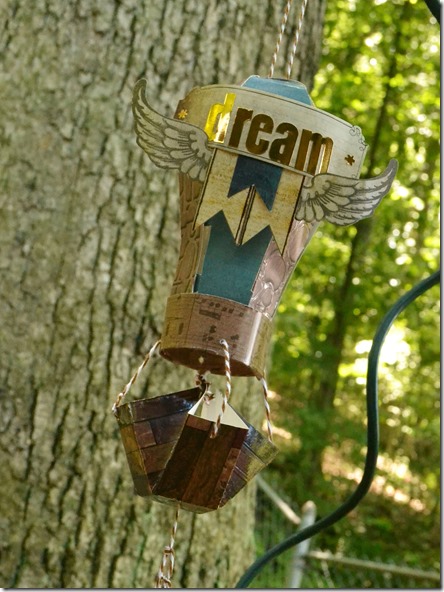
DCWV – Dream Balloon “Industrial Chic”
Hello lovely followers! I’m here today to bring you a pretty sweet decor project using the DCWV “Industrial Chic” stack.

When I saw this stack I saw the makings of a very cool steampunk project. I knew immediately what I wanted to do with it and started working on the pattern.
To me, steampunk is opposites that attract undeniably. It’s ruffles and rivets, lead and lace. I am a BIG fan. So, as I put this together I tried to give it a hard edge while preserving a dreamy quality.
I love the idea that this balloon has sprouted wings in order to fly instead of just waiting for the wind. A very steampunk idea if I do say so myself.
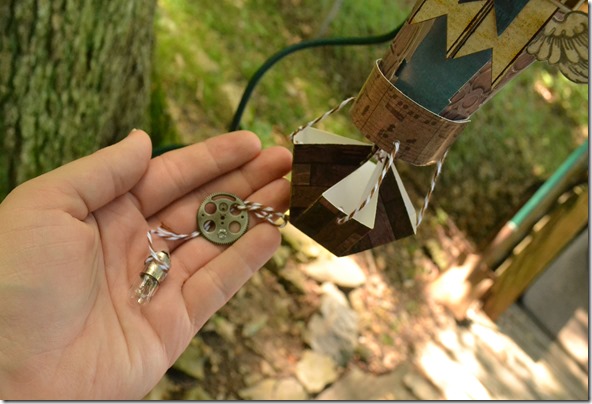
There is really no complete steampunk project that doesn’t include gears and other little bibs and bobs of brassy technology.
I’m super proud of this project and I’d love to hear what you think about it!!
-------------------------------------------------------------------------------------
Supplies: The Industrial Chic Stack (DCWV) | Twine (Doodlebug Design) | Letter Stickers (Sticko) | Cogs (7 Gypsies) | Small Light Bulb (Tim Holtz)
Thanks for taking a look!
Later queenies!
Wednesday, June 26, 2013
Wow Wednesday 3 - June Kit "Mustache Madness"
This kit came with a packet of Studio Calico journaling cards and I thought that showing them in a divided page protector would be JUST what the doctor (that's me!) ordered!
This is a bit more simple that some things that I make, but I love how easy everything came together!
(Everything used is from the "Mustache Madness" kit except for the small letter stickers, a pen and an orange marker!)
Here is a little tip:
Say, that you want to put a date on your project and you don't have all the numbers you need (because you USED them!) just do what I did: use the NEGATIVE space on the sheet where the letter or number used to be and trace inside it to create the number or letter you need. On this page I used this method to put a zero and a three in my year. Doing this made it possible for me to keep numbers in the same font and still use the letter stickers that match my title.
Take a look:
I just used a little orange marker to help it coordinate back to the rest of my papers and embellishments!
Take a look at the rest of the Wow Wednesday projects on the Heartstring website: HERE!
And, don't forget that our monthly challenge is still open over on the challenge blog for another two days! You don't need to use kit contents to enter, so get to it!: HERE!
Thanks for looking! Leave me a comment if you love it! Also, I love new followers on Pinterest and Facebook, the links are in the sidebar!>>>>>>>>>>>>>>>>>>>>>
Later queenies!
Thursday, June 20, 2013
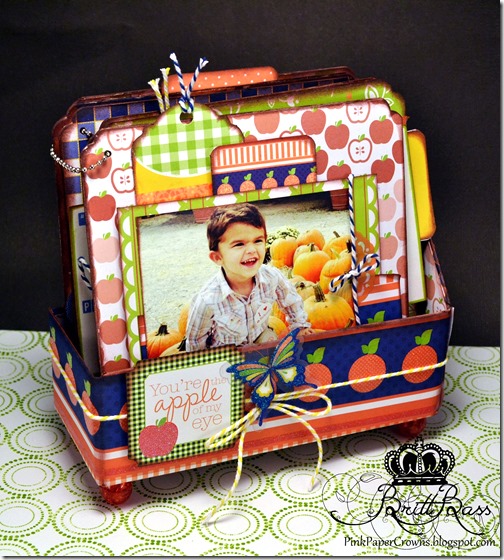
Jinger Adams – Apple of My Eye Mini Book and Box!
Hello crafty people! I’m just posting to let you know that I have a minibook project up on the Jinger Adams’ blog that I just love! I knew that I wanted to do a mini book using these pictures of my cousin, her husband and the sweet baby of the family, her son, Gavin. Go over to the Jinger Adams’ blog and take a look at all the fabulous photos and details!!
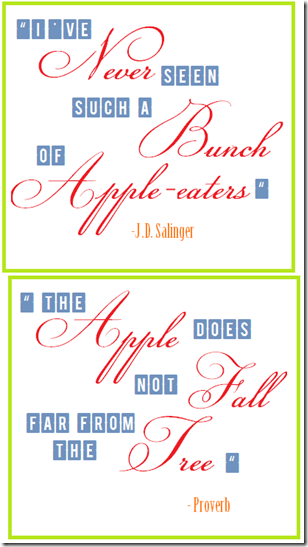
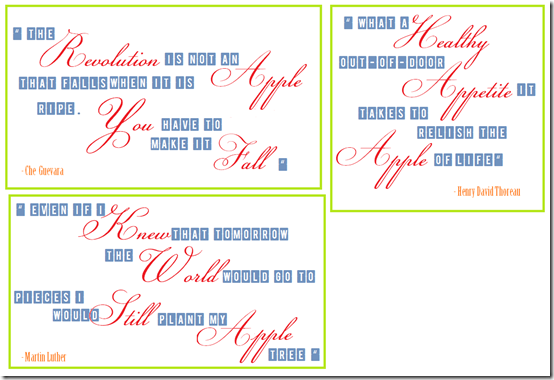
If you’re coming here FROM the JA blog looking for those quote blocks I promised, here they are:
Just left click to bring up the full image and then right-click to save-as and add them to your printables stash!! *
------------------------------------------------------------------------------------------
Thanks so much for stopping by!
Keep it royal people!
*It would be awesome if you’d link back to this post when you use my printables! Thanks!
Wednesday, June 19, 2013
Wow Wednesday 2 - June
Good morning my lovely patients! Dr. Britt here this fine Wednesday bringing you your weekly Heartstring Designs prescription! Got some double-page-layout blues? I've got the cure right here and it has 14 photos!:
In case you are not familiar with the subject of this layout, let me introduce my dad. He is funny, loyal, and an extremely proud man-scaper. When I saw that the June kit* was full of manly icons and lots of mustache MADness (hah!) I decided this would be a great time to document the process that my dad goes through when he shaves. You say to yourself, 'self, why would she scrap THAT, of all things?!'. Well, my father has recently been using a straight razor shaving regime. For those of you who have no idea what I'm talking about, this method of shaving is much more complicated ( time-consuming) than just lathering up and swiping a Bic over your face. It's a three-step process that involves a special cup, special soap, and a special razor (not to mention enough care and practice so as to keep from slitting your own throat!).
Click on the above image and take a closer look!
-------------------------------------------------------------------------------
*Everything on this layout is from the June Heartstring Housecalls Classic Kit with the exception of some letter stickers from Bella Blvd. and two pieces of black DCWV cardstock. The scalloped cardstock circles were punched with a Fiskars squeeze punch.
Thanks so much for stopping by today! Head on over to the Heartstrings BLOG and FACEBOOK to see the other fantastic Wow Wednesday inspiration!
Later queenies!
DCWV - The Primrose Stack (Live it Up)
Hello cropstars! I've got a little DCWV card fresh from the pages of a new stack!
Meet the beaUtiful Primrose:
I made a pretty shaped card with this stack. I used some lace and pearls and really got my GIRLY on!
Friday, June 14, 2013
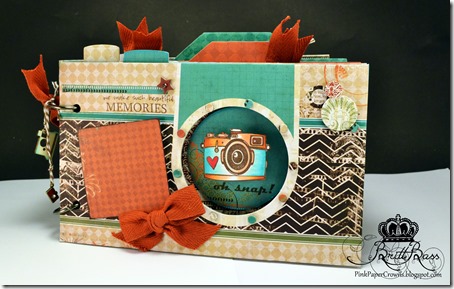
Camera Minibook – The Royal Castle Shoppe Stamp Release!
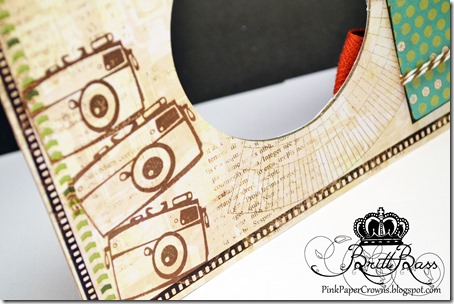
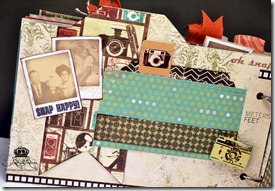
I was SO happy to be asked by Theresa The Scrapbooking Queen to test-drive her new stamps and let me tell you – I LOVE them! These camera sets are just wonderful and I found them to be so versatile.
ROYAL CHEEZE!

ROYAL FLASH!
ROYAL CLICK!
ROYAL SNAP!

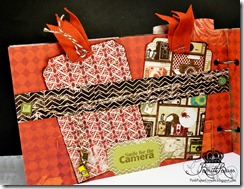
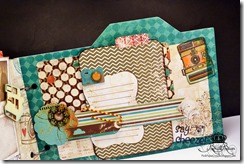
Okay, are you ready for some MAJOR picture-heavy inspiration? I hope you are because you are in for SUCH a treat! I had so much fun making this mini using the new Royal stamps and the Mama-Razzi (2) collection by Bo Bunny (available at The Royal Castle Shoppe HERE)
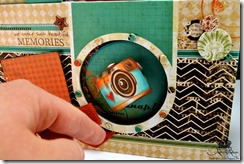
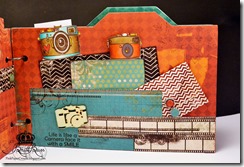
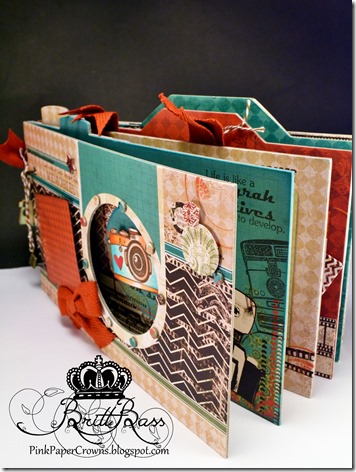
Here is the whole finished album (above) and I wanted to point out that I used one of the stamps as an embellishment that I popped up using an awesome little ‘tool’ called an Action Wobble (click on the first small photo below to see it in action!).
The image above, is a combination of two of the sets. I love how well they all work together!
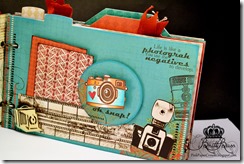
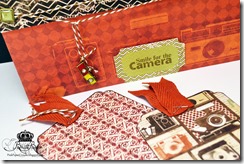
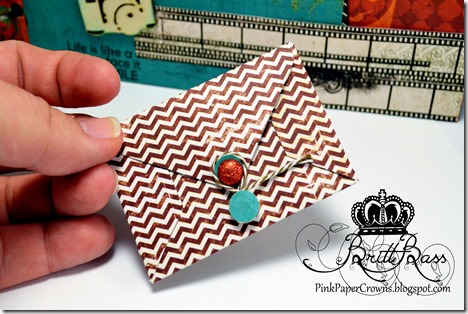
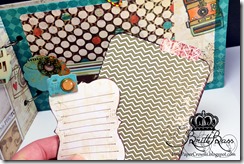
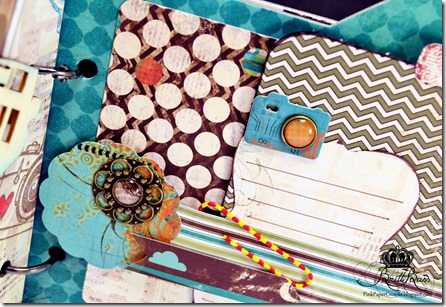
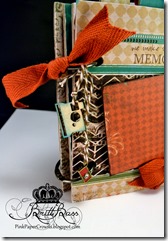
In the Mama-Razzi (2) collection there is such a cute package of cardstock elements called “Noteworthy”. This little envelope is part of that pack as well as lots of the elements I’ve included in the book.
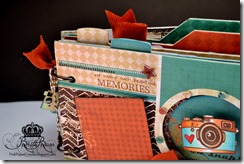
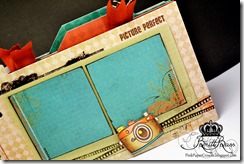
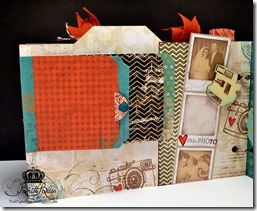
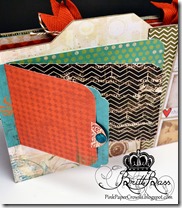
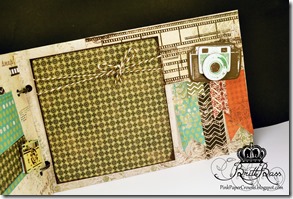
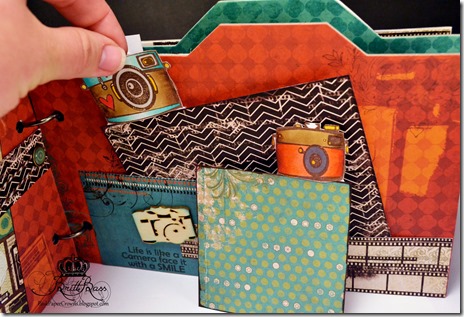 I thought that the camera images in the new Royal stamp sets made great tabs for my photo mats! I just added a little scrap of paper and a piece of tape to attach them to the tops of my photo mats.
I love making little tabs from different things that are NOT supposed to be tabs. Here I used an ADORABLE camera die from My Favorite Things!
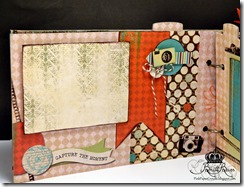
I love including a place for one relatively large photo which you can see in one of the photos, above.
Here’s another full shot of the book. I really love the way it came out and I can’t wait to find the perfect photos to put in this cute little camera mini! I loved making it and it wouldn’t have been half as cute without TSQ’s new Royal stamp sets!!
-------------------------------------------------------------
Supplies: Camera Mini Album, 6x6 patterned paper pad, “Noteworthy” ephemera pack, rub-ons, Brads, layered chipboard (Mama-Razzi (2) collection from Bo Bunny), Ink (Brown Chalk Ink, Clearsnap; brown and black dye ink, Memento), Stamps (Royal Snap!, Royal Click!, Royal Flash!, Royal Cheeze! by Theresa the Scrapbooking Queen), Copic Markers, Other (Camera Charms, MFT Camera Die, Twine, Paperclips)
-------------------------------------------------------------
Thanks for stopping by! I hope you’ll click around on all the photos and take a closer look at everything!
Keep it ROYAL people!!
DCWV – Baby Boy Card
Hello! Today is posting day, haha! I’m bringing you a little card from one of my favorite 2013 DCWV Stacks: Baby Boy

LOVE this stack and all of it’s little cut-outs and the mix of simple patterns, photo real textures and boy icons.
I used lots of cut-outs on my super-sized cards!
I just LOVE the way this card came out! It was so easy to make because all the elements were in the stack, except for the ribbon and one button.
------------------------------------------------------
Supplies: Cardstock (The Baby Boy Stack, DCWV), Adhesive (Tombow Stamp runner, pop dots), Other (blue ribbon and yellow button, Joann)
--------------------------------------------------------
Thanks for stopping by!
Later queenies!
Join Us in the Heartstring Designs Challenge!
Just wanted to let you know that the June Heartstring challenge is up and some of the Craft Doctors have some inspiration up for you!
This challenge is a sketch challenge and it’s just such a cute sketch with lots of possibilities!
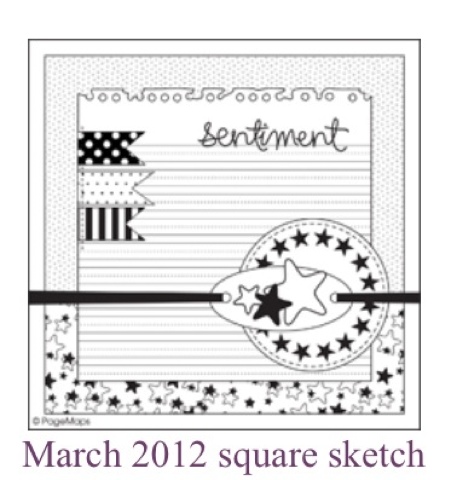
Here's the challenge: make a card using this sketch from pagemaps (using sketch pictured below) and make a masculine card .also, it must have a mustache on it. easy peasy.. right?!everyone that participates will have their name put in the drawing. the Winner will get 3 rolls of Washi tape! Plus a mystery mustache surprise!
Now, onto the inspiration:
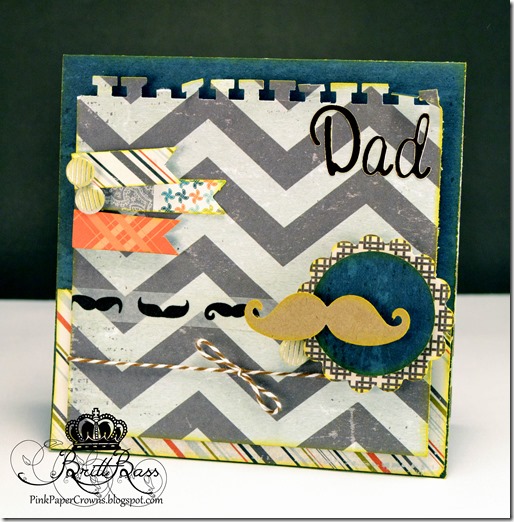
Everything on my card except for the yellow ink, letters and twine are from the June Heartstring Designs kit “Mustache Madness”. (There ARE letters in the kit, but I’ve used too many d’s to spell ‘Dad’! lol)
Join the challenge HERE!
Keep it royal people!!!
Wednesday, June 12, 2013
Wow Wednesday: June Housecalls Kit “Mustache Madness”
Hello there people! Dr. Britt is in the house! I wanted to show you what I’ve been making using my June Heartstring kit “Mustache Madness”!
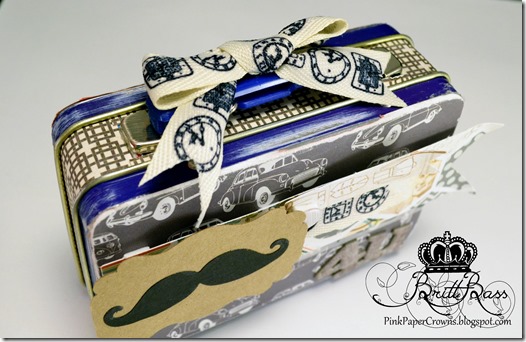
do you ever get little gifts in those cute aluminum tins, but the design of the tin is themed, or holiday-oriented and then you don’t know what to do with it? (I know, I gave you a headache with that question! Never fear, the doctor is here!)
I found two of these old tins laying around and thought they would be the perfect item to alter with my kit!
Everything on this project came in the kit except for the tin. It was actually easier than I thought to cover the offending parts of the tin and all I left were the solid blue bits to give a little contrast.
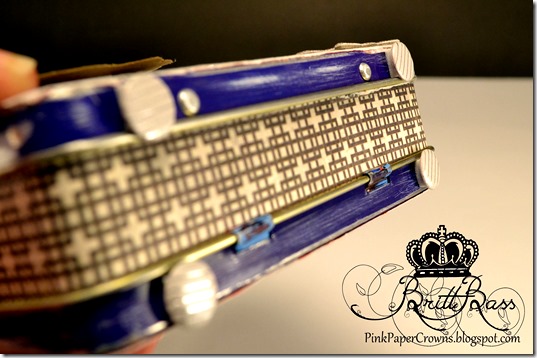 I sanded the whole surface of the tin so that the glue would have something to hold on to and I thought the blue bits came out looking so cool I left them alone. There is some SUPER cute CANDi that comes in this kit and I used it to add little ‘feet’ to the bottom of the tin – it gives the project more of a ‘briefcase’ look.
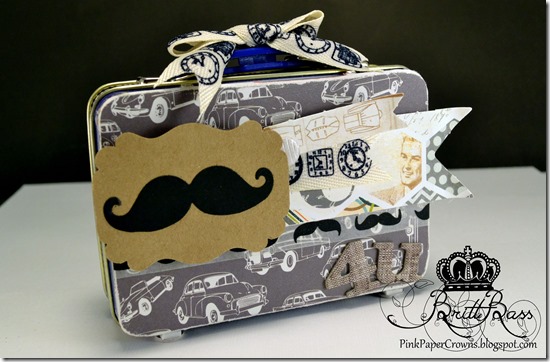 I love the way the kraft paper mustache tag really POPS off the front of the tin – it was a larger embellishment to try and fit on such a small surface, but I think it adds a lot of contrast and punch to this little beauty!
The finished tin is just large enough to hold a small gift or a giftcard.
Are you feeling MAD over the need for this month’s kit? The only cure is subscribing and Mustache Madness is close to selling out, so head over to the subs page and sign up now! HERE
Thanks for stopping by people!
Keep it royal.
Saturday, June 8, 2013
Heartstring Designs: June Housecalls “Mustache Madness” Day 2
Madge is trying a little something new this month: there will be a mini kit OR a classic kit available!
Classic Housecalls: (All paper is 12x12 in the classic Housecalls kit.) 11 Pieces of Paper, 1 Punch out page, 1 set of Notecards, 1 roll of Washi Tape ** Please Note the Washi Tape may vary per kit** 3 strips of Ribbon, 1 alpha set, 1 package of CANDi Minis, 1 mustache tag, mustache bag, 2 Kraft mustaches, 2 black Mustaches.
 NEW! Mini kit: (Please note the mini kit all paper comes 6x12)
12 pieces of paper, 1 mustache bag, 1 package of CANDi minis, 1 small stamp set (stamp sets may vary per kit), Ribbon 3 patterns, Mustache tag, Mustaches
 NOW, on to the layout!!
  I recently had access to these two lovely, teenage ladies – Kenzie and Devon, my little cousins (they are 14 and 17) and they very much enjoyed supplying me with some “Lady ‘Stache” photos. I wanted to show that this kit is not just for guy pictures!
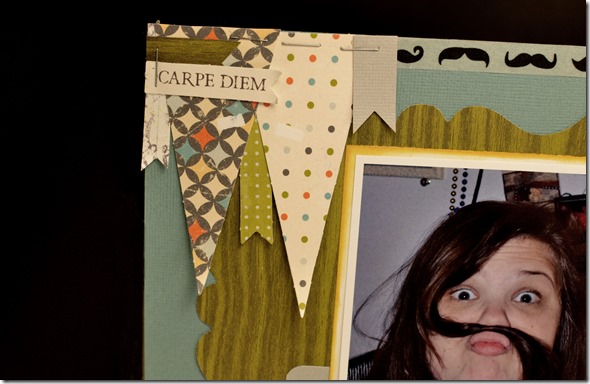
I LOVE the little punch out banners that come with all the Fancy Pants collections! This “Swagger” collection featured in the June kit has lots of fun patterned banners and I like to mix them with notched banners that I cut myself – it gives everything a really random look.
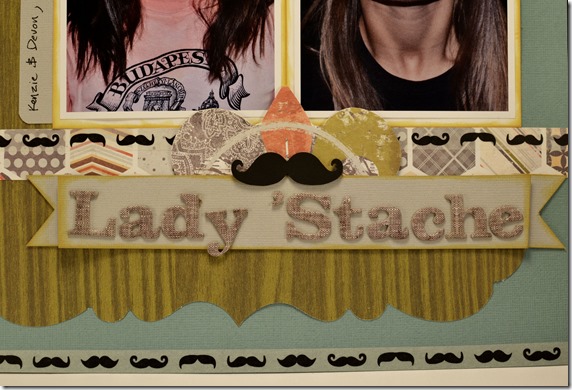
Don’t you love that title? I do!
Theresea The Scrapbooking Queen:
Day 1
Day 2
Britt Bass “Queen B” YOU ARE HERE!!
Midge Scrappin Toxic Midge:
Day 1
Day 2
Madge Scrappin Madge
Day 1
Day 2
Guest Designer: Chris Buttanda aka Craft with Chris
YouTube Channel: HERE Facebook: HERE
